> ## Documentation Index
> Fetch the complete documentation index at: https://docs.findly.ai/llms.txt
> Use this file to discover all available pages before exploring further.
# Workspace setup
> Setting up your workspace for the first time
## Add users
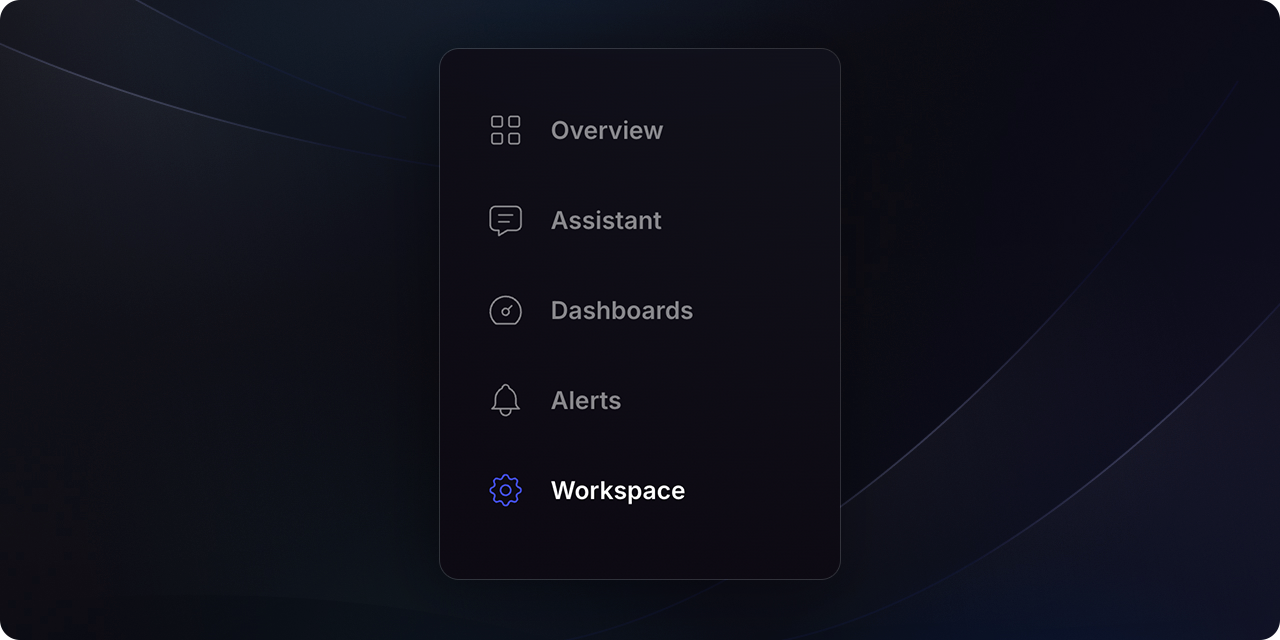
### Step 1
Click on the [Workspace](https://dashboard.findly.ai/app/workspace) tab in the left sidebar.
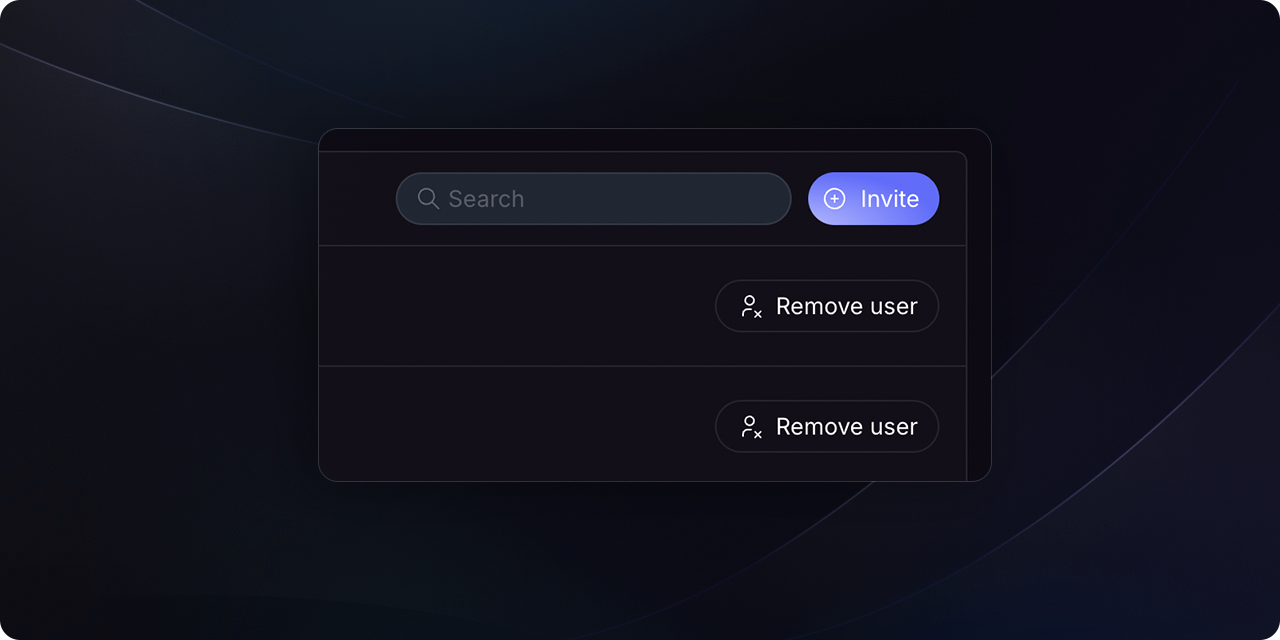
 ### Step 2
Click on the `Add member` button in the top right corner.
### Step 2
Click on the `Add member` button in the top right corner.
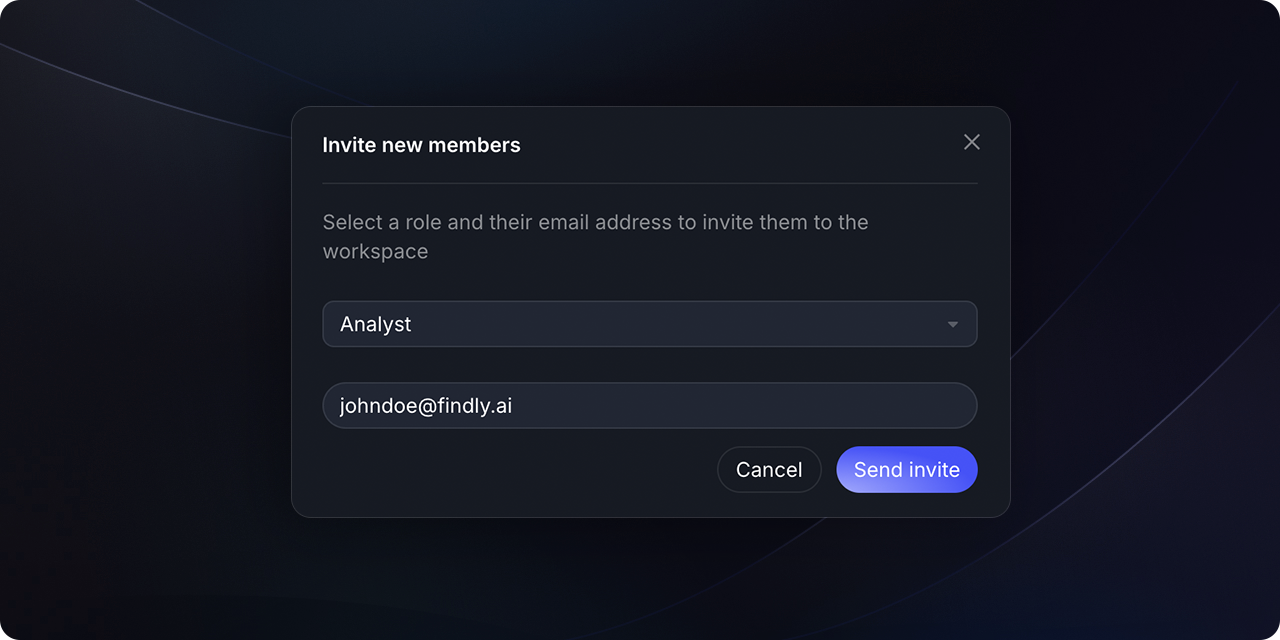
 ### Step 3
Fill the new member's email address and select the role you want to assign to them.
### Step 3
Fill the new member's email address and select the role you want to assign to them.
 ## Manage roles and permissions
We are currently working on role and permission management, stay tuned for
updates.
## Manage roles and permissions
We are currently working on role and permission management, stay tuned for
updates.